Man friend and I got an invitation to a festive St Paddy's Day party the weekend before St Paddy's day, which yes was sooo long ago, and like a great little blogger that I am, I am blogging about what we brought to the party the day before the next holiday! Holla!
So what did we make? Leprechaun Balls(keeping it super classy people) and Mint Chocolate Fudge. First up, the fudge:
I decided to follow the recipe from
Scattered Thoughts of a Crafty Mom. I melted the chocolate chips with the condensed milk in the microwave and pressed it in a casserole dish lined with wax paper.
I melted the white chocolate chips in the microwave with the condensed milk:
and when it was evenly melted, I tossed in two Duncan Hines frosting creations mint chocolate and mixed thoroughly.
Smooshed those bad boys on top:
We stuck it in the freezer to get it to harden. I would NOT recommend this. They were a bear to cut and I ended up getting a blister on my finger, but we soldiered through bagged em' up and off they went. Badda' bing' badda' BOOM.
Next up, Leprechaun Balls. I used the full recipe from
Mom Foodie. I let Man Friend take the lead here. He wanted to participate, so what the hell. But ladies, DO NOT LET YOUR MAN HELP WITH THIS RECIPE. Also, this recipe is for adults only. If you follow the recipe 4 to 5 would equal a shot. He went into it with the good intention that more alcohol is best, and I'd say 2 of ours made a shot :) But here's what we did.
We crushed a box of Nilla wafers and split into two bowls, one bowl got 1/3 of the crushed cookies, the other 2/3s.. did you know you'd be practicing fractions? ;)
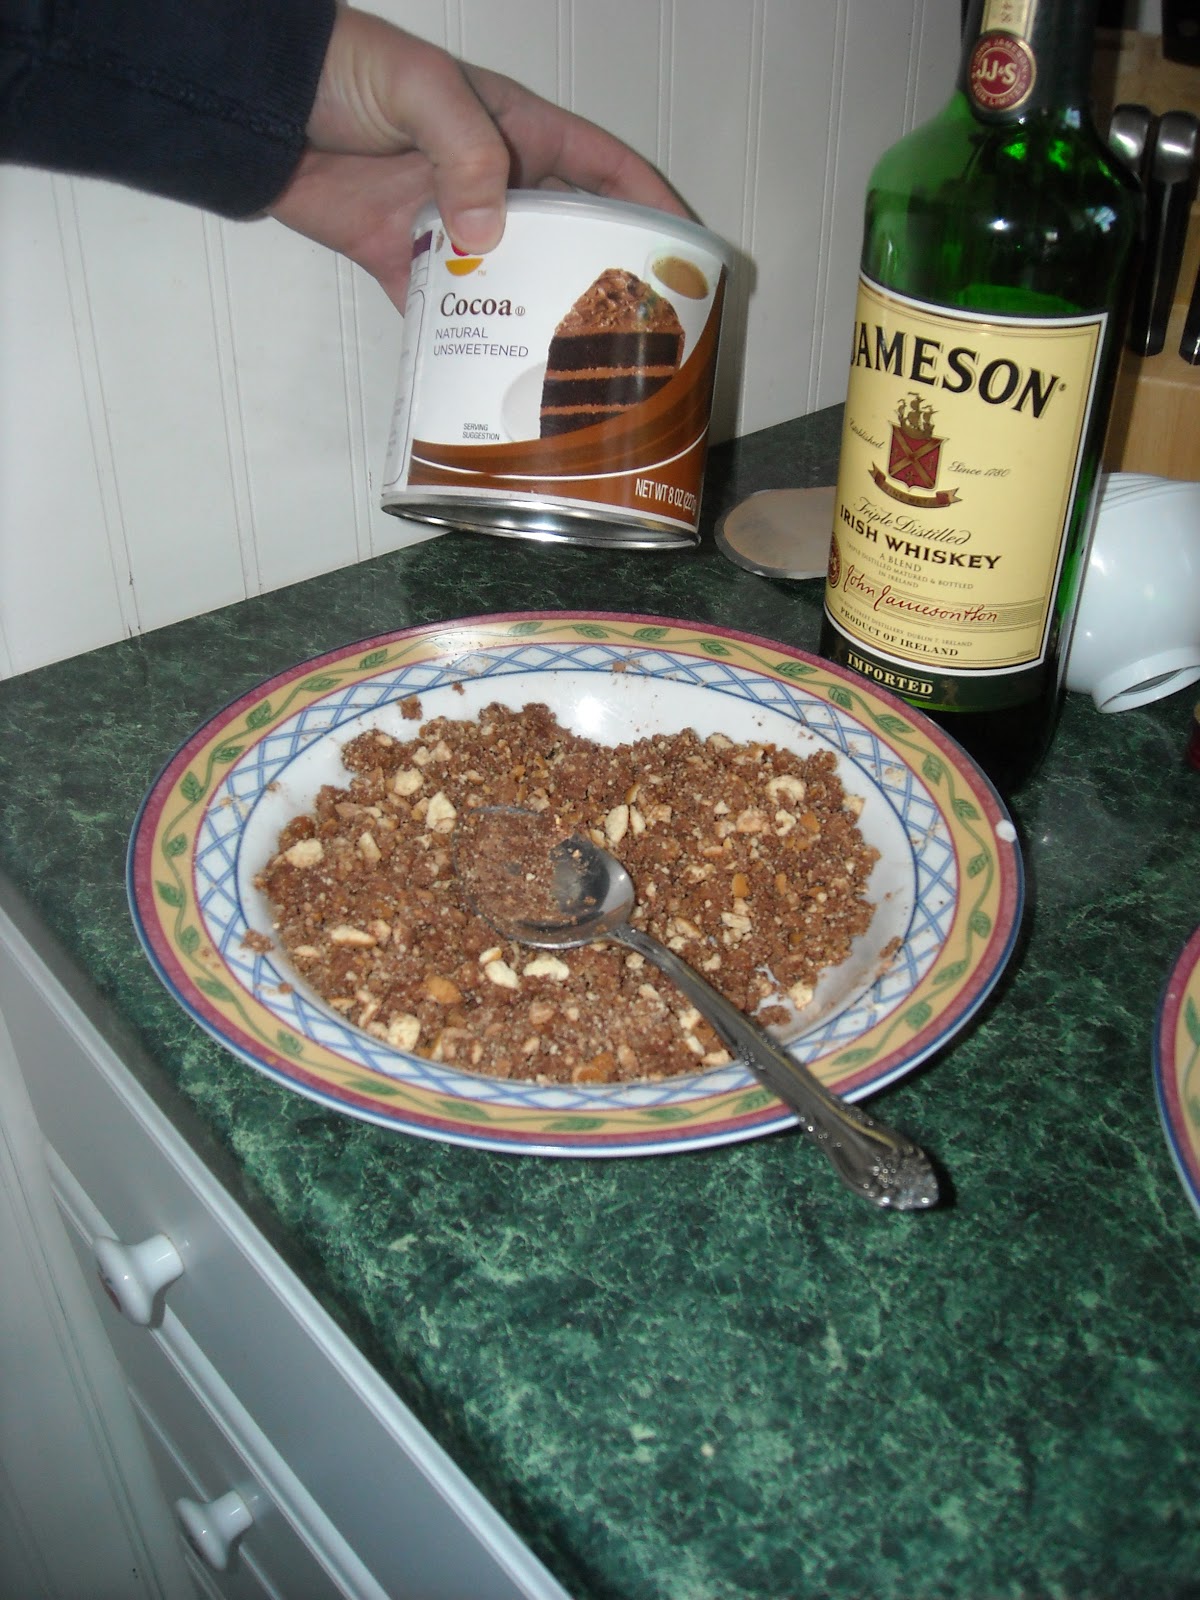
In the smaller section, throw in about 2 teaspoons of cocoa powder and mix in the whiskey:
He poured more then the recipe called for(to be honest, neither of us are much of liquor drinkers and were trying to burn through the alcohol as best as we could).
The other larger bowl, we mixed in the Baileys. We melted more white chocolate chips and mixed in some food coloring and that left us to this set up:
The goal is to begin with the whiskey mix make a small ball then with the Baileys mix, make a flatter circle and wrap the whiskey mix THEN dip/roll in the white chocolate. Ultimately, this was a fail. Our mixes were too damp and it was just a big mess. I got frustrated and basically gave up. But man friend finished out:
He ultimately just grabbed a little of each and make it into sort of ball and then poured a bit of chocolate on it. He also renamed these balls as "Shot cookies"
He's just a better person then I am and saw the project through. I think at the party, the people brave enough to try them liked them, but I'm not sure they were the hit I was going for. Maybe you all can try them and let me know if you make them any better?
 |
| Here he is working his magic :) |